Introduction
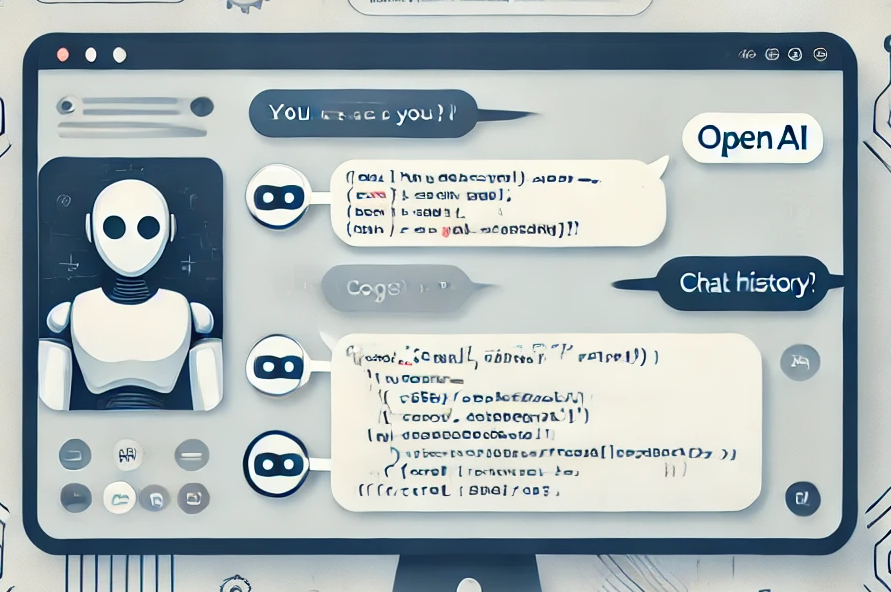
In today's post, we'll explore how to build a chatbot using Python and the OpenAI API. The code snippet provided demonstrates how to maintain a conversation history using file operations and make effective use of the OpenAI API for generating responses. This article will break down the code, explaining each part to help you understand how to implement and customize this chatbot for your needs.
Setting Up the API Key
To start, you need to configure your API key. This key allows your Python application to communicate with OpenAI's services.
import openai

# Set your API key here
openai.api_key = 'your API key '  # Replace with your actual API key
Make sure to replace the placeholder with your actual OpenAI API key. For security reasons, avoid hardcoding sensitive information directly in your scripts. Consider using environment variables or a secure vault.
Managing Chat History
Maintaining a chat history is crucial for context in conversations. The following functions handle loading and saving the chat history using the pickle module.
import pickle

# Function to load chat history from a file
def cargar_historial(nombre_archivo):
    try:
        with open(nombre_archivo, 'rb') as archivo:
            return pickle.load(archivo)
    except FileNotFoundError:
        return []

# Function to save chat history to a file
def guardar_historial(historial, nombre_archivo):
    with open(nombre_archivo, 'wb') as archivo:
        pickle.dump(historial, archivo)
Getting a Response from the AI Model
The core of the chatbot is the function that interacts with the OpenAI API to get responses based on the chat history.
# Function to get a response from the AI model using the entire history
def obtener_respuesta(historial):
    response = openai.ChatCompletion.create(
        model="gpt-4o",  # You can change to another model if needed.
        messages=historial  # Pass the entire history as context.
    )
    return response.choices[0].message['content']
This function sends the entire chat history to the OpenAI model, which helps the model provide more contextually relevant responses.
Interactive Chat Loop
The interactive chat loop facilitates continuous conversation until the user decides to exit.
def chat():
    nombre_archivo = 'historial_chat.pkl'
    historial = cargar_historial(nombre_archivo)

    print("¡Bienvenido al chat! Escribe 'salir' para terminar.")

    while True:
        usuario_input = input("Tú: ")

        if usuario_input.lower() == 'salir':
            break

        # Add user's message to history
        historial.append({"role": "user", "content": usuario_input})

        # Get bot's response using the entire conversation history
        respuesta_bot = obtener_respuesta(historial)

        # Add bot's response to history as well
        historial.append({"role": "assistant", "content": respuesta_bot})

        print(f"Bot: {respuesta_bot}")

    # Save the chat history on exit
    guardar_historial(historial, nombre_archivo)

if __name__ == "__main__":
    chat()
This function handles the main chat interaction. It loads the chat history, enters a loop where it takes user input, fetches a response from the AI, and then updates the chat history. The chat continues until the user types 'salir'.
Conclusion
With this setup, you've built a simple yet effective chatbot using Python and the OpenAI API. This implementation demonstrates how to manage conversation history and integrate OpenAI's powerful language models into your applications. Feel free to customize and expand this code to fit your specific needs, whether you're developing a customer support bot, a virtual assistant, or an interactive storytelling application.
Remember, always keep your API keys secure and handle user data responsibly. Happy coding!
I hope this article provides you with a clear understanding of how to create a chatbot using Python and OpenAI's API. If you have any questions or need further clarification, feel free to leave a comment below. Happy chatting!
Comments